Research
For the Asset Design unit I had to choose a main theme and a sub-theme, and then create an asset that fit those themes.
The four main themes were Horror, Fantasy, Science Fiction and Historical with the eight sub-themes being Alien, Corruption, Utopia, Dystopia, Celebration, Decay, Family and Beauty.
For the main theme I chose Fantasy and then Decay for the sub-theme.

I chose fantasy for the very large amount of reference imagery or videography I could take inspiration from. Playing many video games and watching lots of television/cinema meant I had a wide scope of the fantasy genre which I could use to generate ideas.
With decay as a sub-theme, I first had to gain an understanding of what decay is and how it differs to corruption. Both sub-themes are present in many forms of media. The Dark Souls series developed by FromSoftware has both corruption and decay present in many of its items. The Blasphemous Blade contains a corruption of sorts with “the remains of the countless heroes he (Rykard, lord of Blasphemy) writhe upon the surface of the blade”. The weapon shows corruption as it is comprised of the flayed flesh of others and is practically alive.

On the contrast, many items will have decay such as the rusted coins, broken straight swords and many more. This is decay because they have been broken down, usually by natural means.

Idea Generation
For my asset idea, I first looked at what environment I would be developing it for. My environment idea is going to be a cottage in the forest with an alchemy lab in the upper part of the building. This lead me to look into what things I would see in this environment, specifically the alchemy lab. I decided that I would make a potion bottle of sorts as I could incorporate fantasy into it through magical effects and then decay through the appearance of the bottle or other things.
Below is a mood board of the things I used to gain insight on what I would be making as my asset. One image that might be confusing is that of an umbrella belonging to the character “Fragile” from Death Stranding. This is because my vision for the potion bottle is to be out of place and angular by design.

The Design Process
The next thing I had to do was start making the asset. For this I used Maya (a 3-Dimentional modelling software) which made me nervous at first as I had never used it before and was largely different to Blender animation, which I already had experience using.
As I do with any new application, the first thing I tried to do is familiarize myself with the controls, the commands and the things I could do. Mainly using basic blocks and the different tools showed me how I could make my asset to the best of my ability.
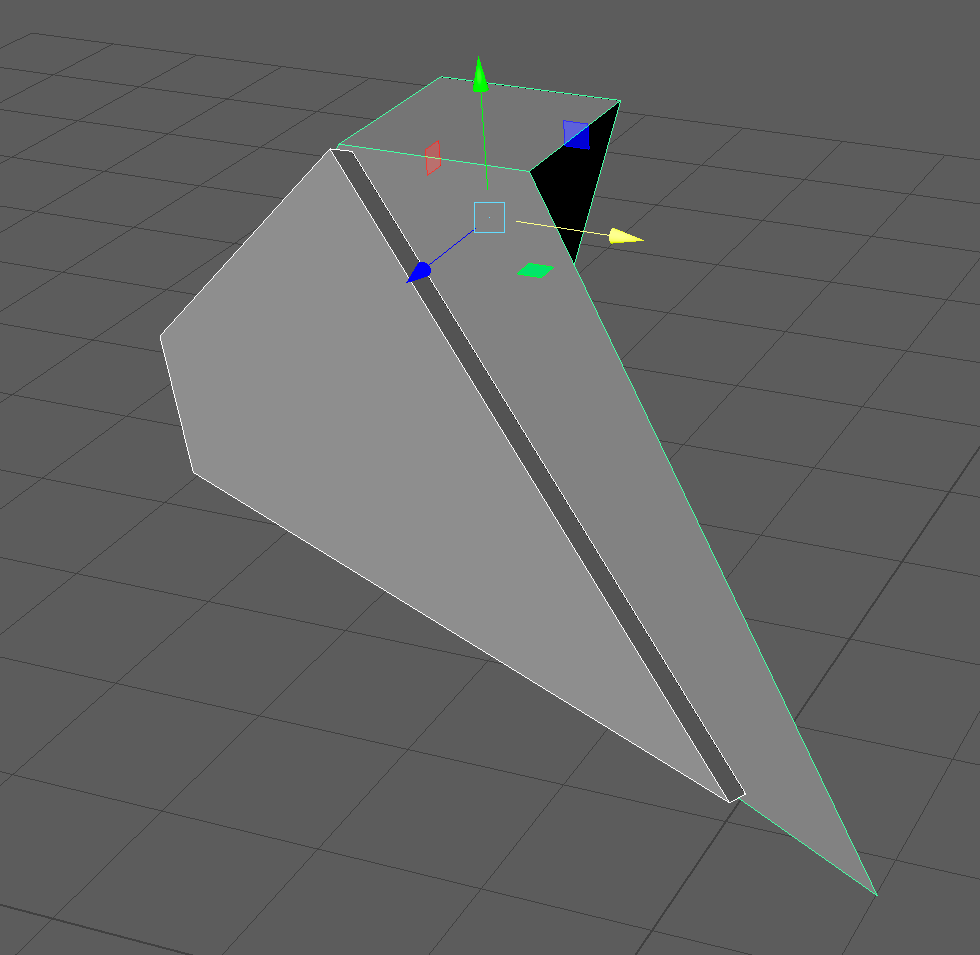
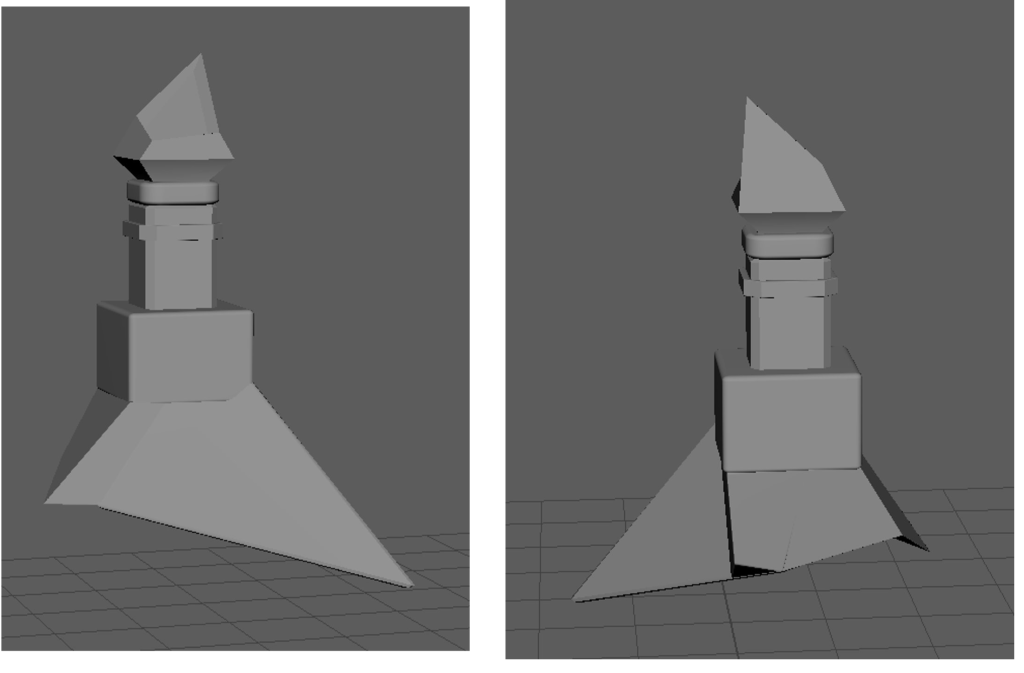
To begin modelling my potion bottle I made some different styles of the base bottle formation. These ranged from a classic circular or spherical shape to the angular design you can see below. Since I had wanted an angular design that looks out of place, the blocks below were the starting point for the design.
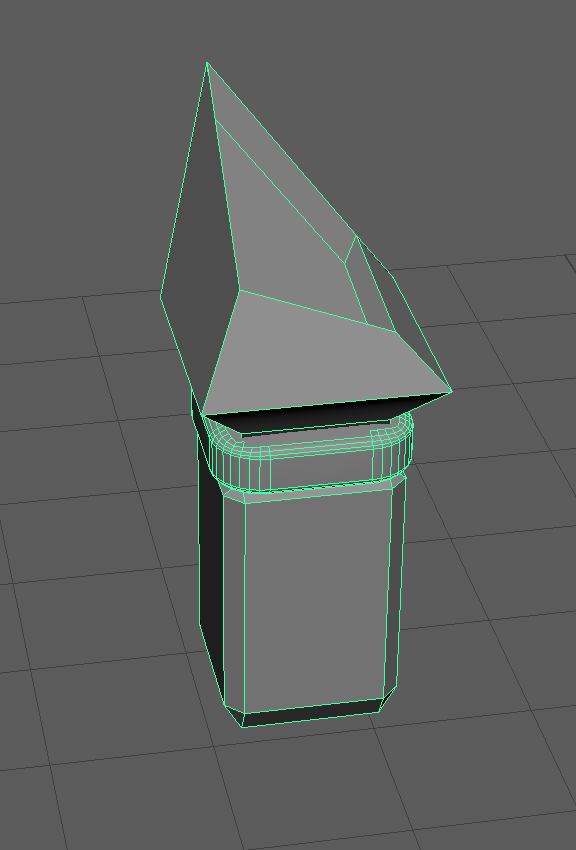
The next part of my model which is very important is the bottle neck and mouth. I started it by having a simple cube which I beveled and stretched to a rectangular shape. After that I face selected the top face and extruded it to add height and a raised place for the bottle mouth to be made from. Making the bottle opening at the top was slightly more complicated as I started to extrude and move vertices for that sharp shape that I had imagined. Moving the vertices around proved troublesome at first as they also changed the way the edges were placed. While this is fairly obvious to happen, I struggled to put them into the correct position. In the end, I inset a face into the upper part making the lowered part of the mouth. That allowed me to move some vertices around more with a basic shape being maintained.
Moving down from the bottle neck, I added a cube where the rest of the bottle would be attached to. I also added decorative rings to the bottle neck on the outer section and the part where the neck meets the mouth.
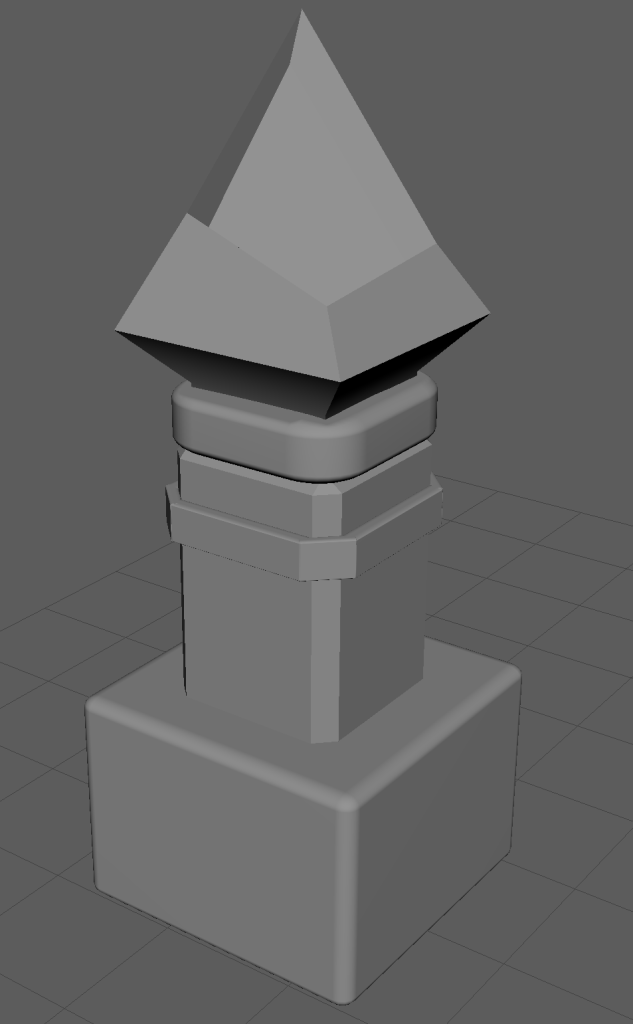
Adding the bottom part of the bottle was done by reshaping cubes to make an angular bottle that is close to what I envisioned.
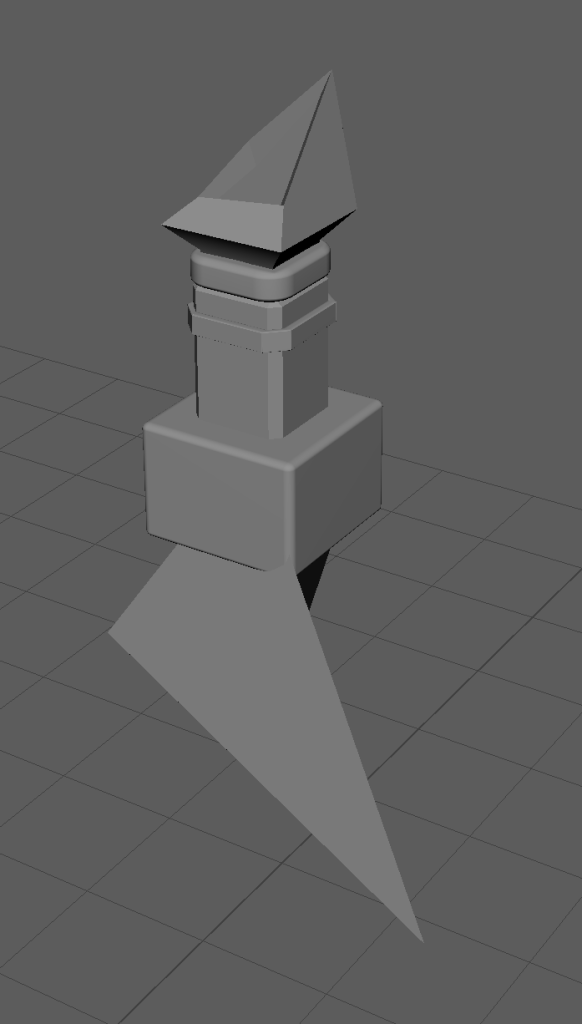
After putting the finishing the bottle’s base and attaching it to the neck, the asset was complete. Adding materials to different parts of the bottle would make it so that it would be easy to texture when moving to Adobe Substance Painter 3D.
With the bottle design finished, the next part of the development process was UV unwrapping. Upon starting this part of the process, it came to my attention that Maya didn’t agree with extreme shapes which my asset was mostly made of. The solution to this was to add edge loops in order to make more faces, instead of leaving some very extreme shapes.

After adding the edge cuts to the necessary shapes, I was able to UV wrap it. This would make each face visible in Substance Painter and, in turn, make it easier to texture.

Continuing with UV unwrapping was easy after doing it once and became second nature after moving up the asset.

After finishing the UV process, the model was finished in Maya for now. I added some materials to different parts of the asset and then began exporting it into Adobe Substance Painter.
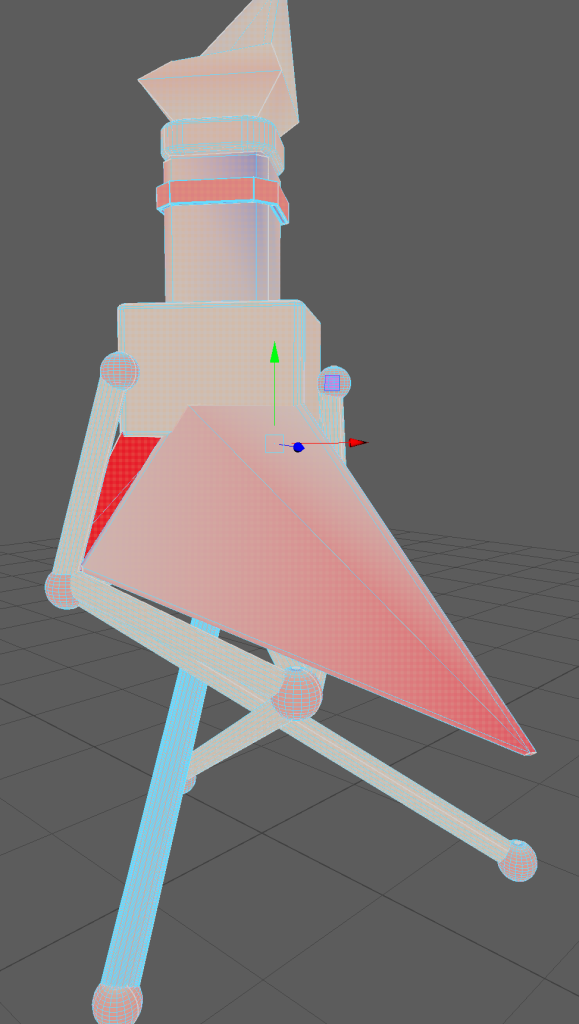
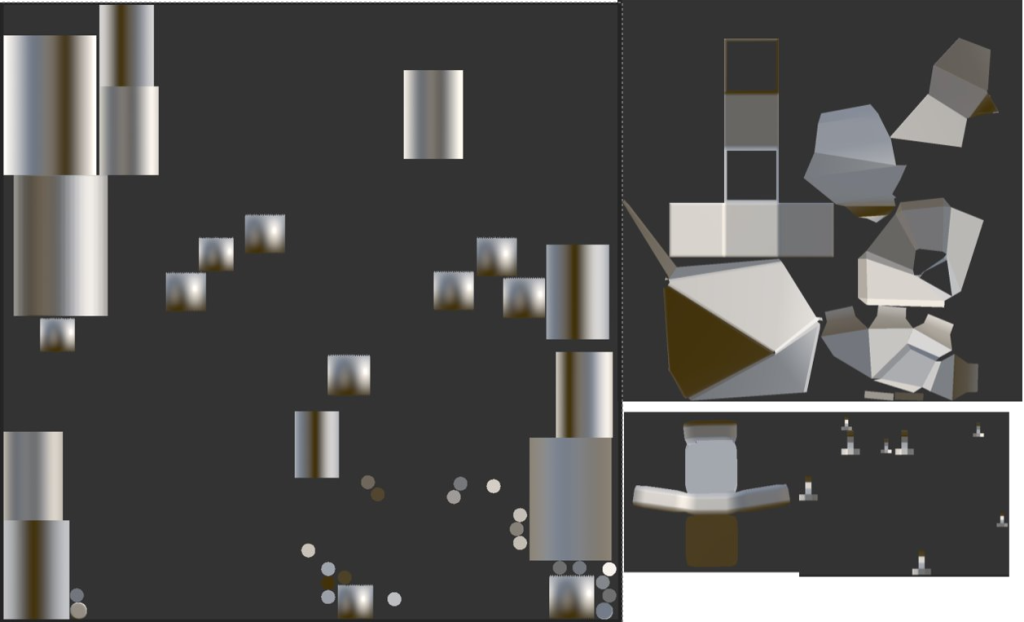
Below is an image of the UV view in Maya. It shows each object and face that have been through the process, ready for exporting.
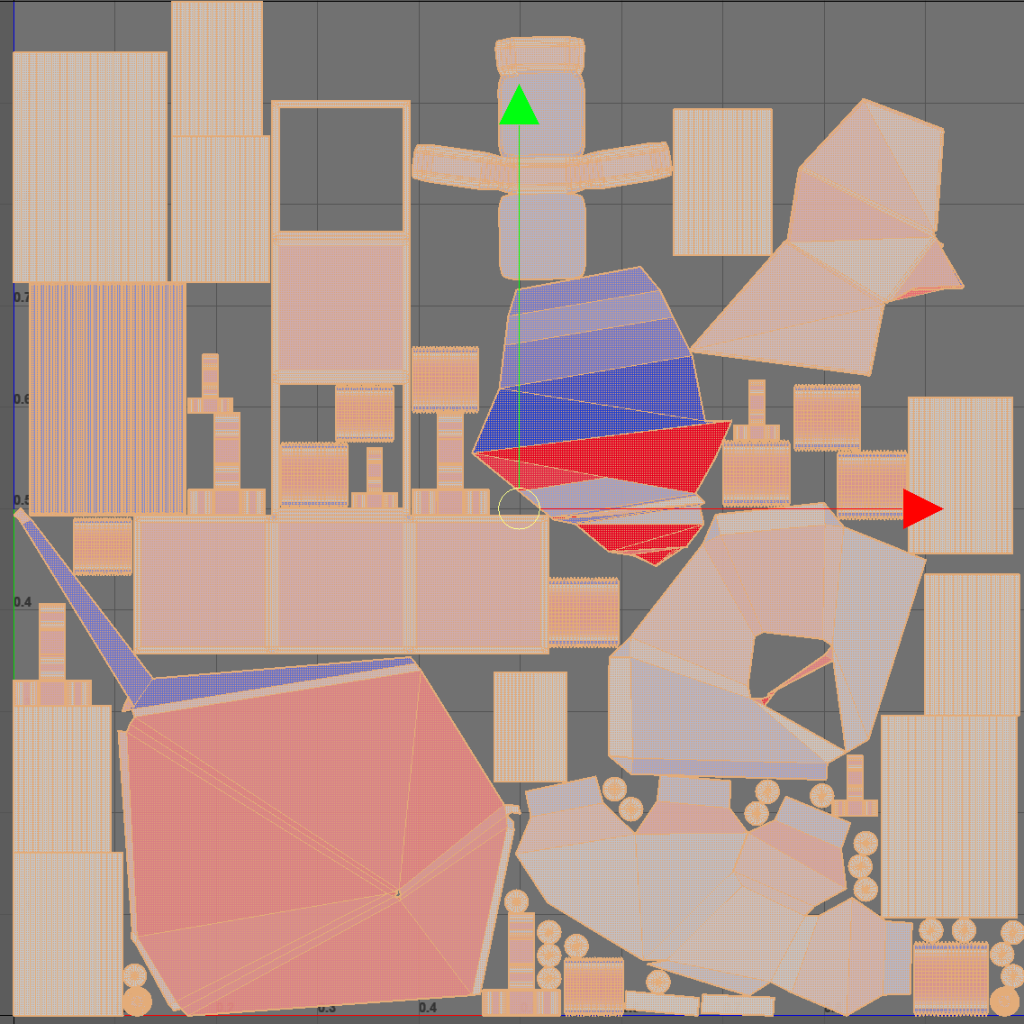
Wireframe views allow the user to see every edge on the asset. Below are the wireframe views of my asset from the sides, front and top.
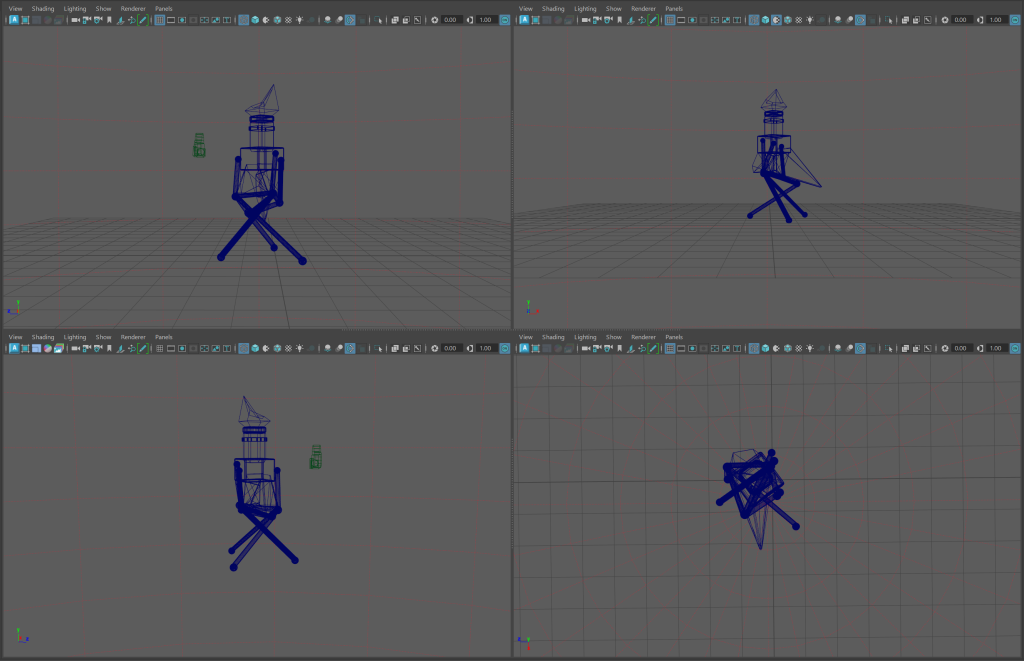
Exporting my asset into substance painter would allow me to texture and colour the model. Exporting the Maya file as a .FBX file allowed me to import it.
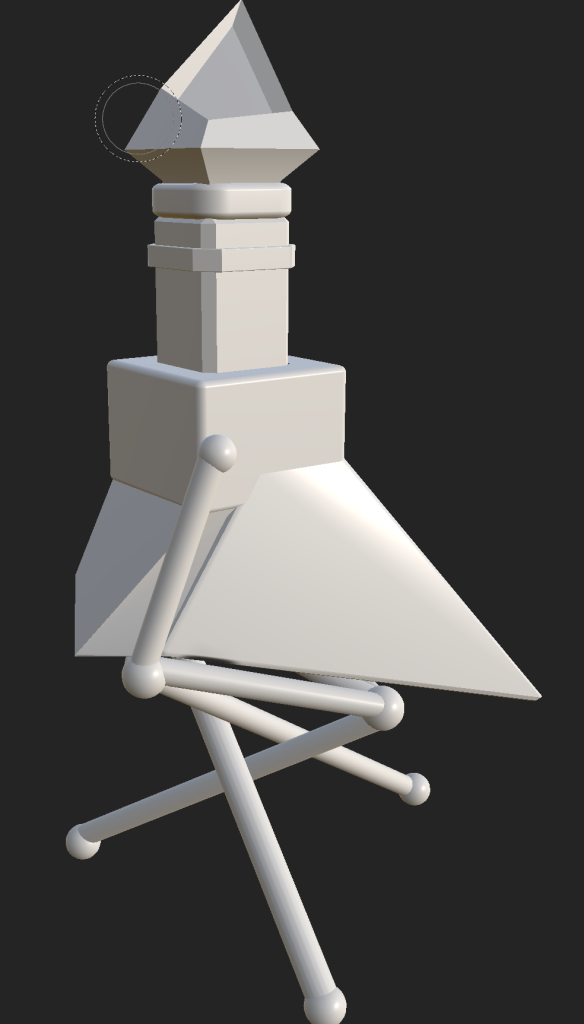
Inside Substance Painter, people usually use the views where you can see the asset and then the faces of the specific material that is selected. It allows you to draw on the textures that are applied only to the specific parts of the asset. For example, the larger image below is showing the faces of the potion bottles stand. When painting on the texture applied, it will only put the paint onto those faces. It makes it much easier to apply paint and texture to certain parts of the model.
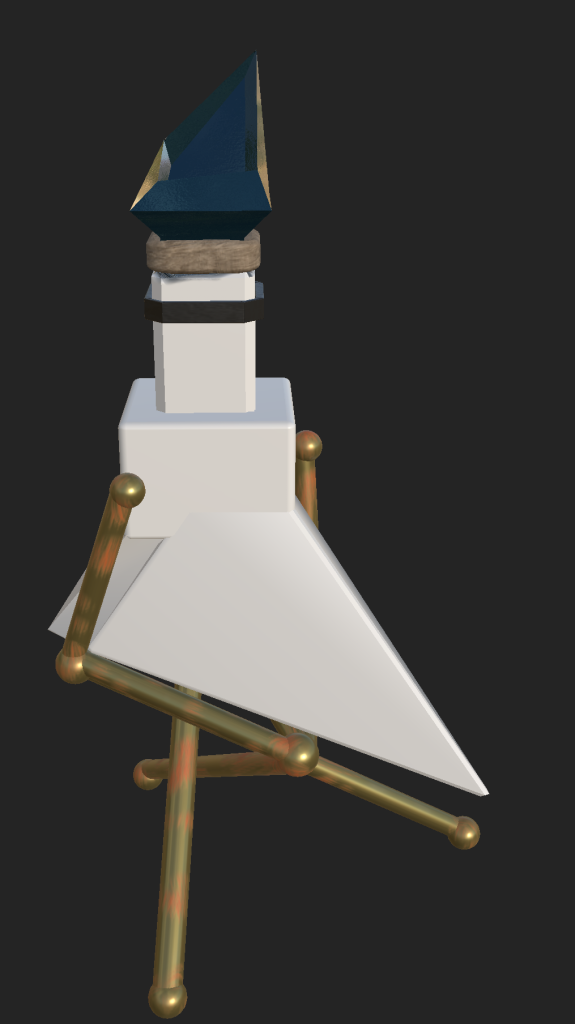
When starting with substance painter, I first tried some rough ideas of what I wanted things to look like. The bottle stand was done with a gold material and then had rust painted on afterwards. The bottles cork was made with a wooden texture and the jewel above made with a PVC plastic.
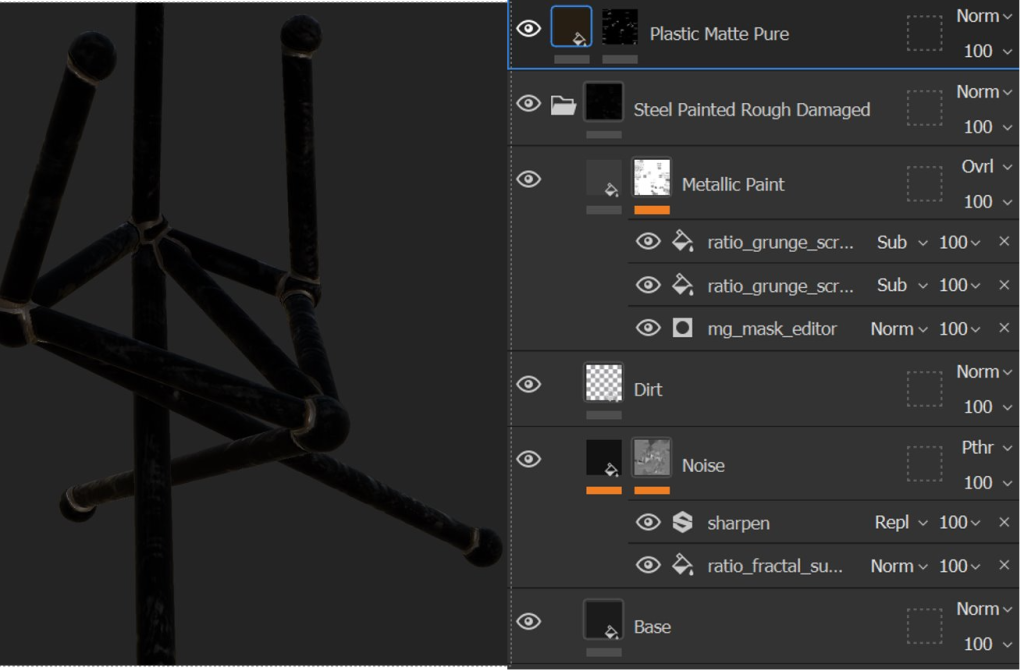
It was after this that I got some feedback on the model and some tips on how I should texture it. For the base I used a rough, damaged steel texture and then made a plastic matte texture for welding spots between the cylinders and the spheres. The welding was made by changing the paints colour to brown and making it paint at the edge of the brush with the center of the brush placing a silver colour. Applying this to areas where the different shapes connect make it look like the stand is not expertly made and is very makeshift. This is the sort of appearance I envisioned during the design process.
Now with a bottle, it usually needs to look like glass. To do this I followed a similar process to how I made the stand have its main material. Dragging the glass material onto the texture for the main bottle gave it the look of glass. Looking at the properties tab, I was able to change the colour of the glass to a dark purple. I then made it less reflective and more opaque.

And to finish texturing the main part of the bottle I did glitter on the jewel located on the top of the bottle. This gave a shiny stylized look that I was hoping to deliver.
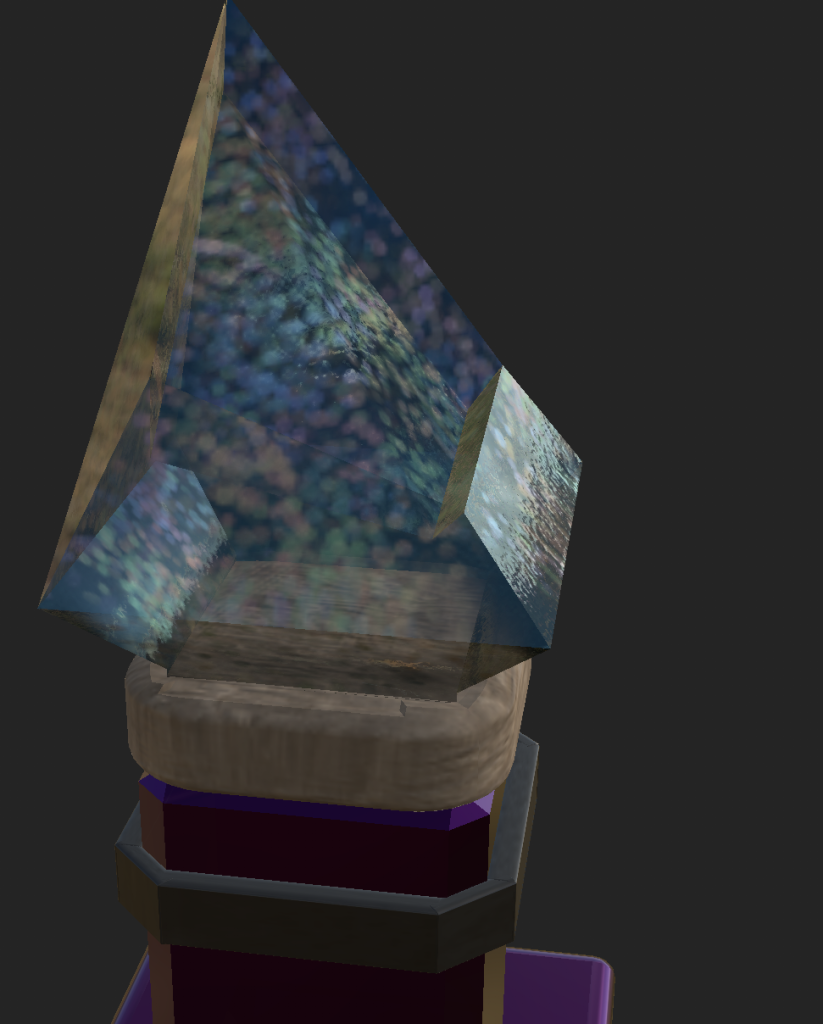
All of the texturing leads to the image of the final product below. The changes to my original idea have worked well and I am overall pleased with the outcome.
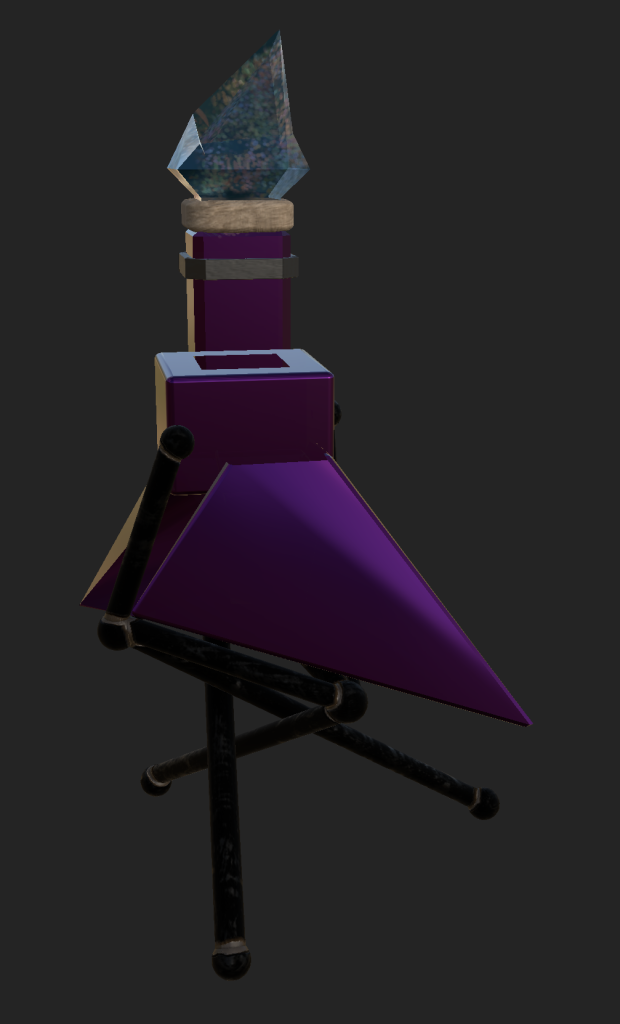
Bringing the textured asset back into Maya, I was able to fully render it using Arnold, the built in rendering function. Below are some beauty shots I took in Arnold render view, to show off the asset from different angles.


I also recorded my asset with a view that travels around the entire object.
Alternate Idea 1
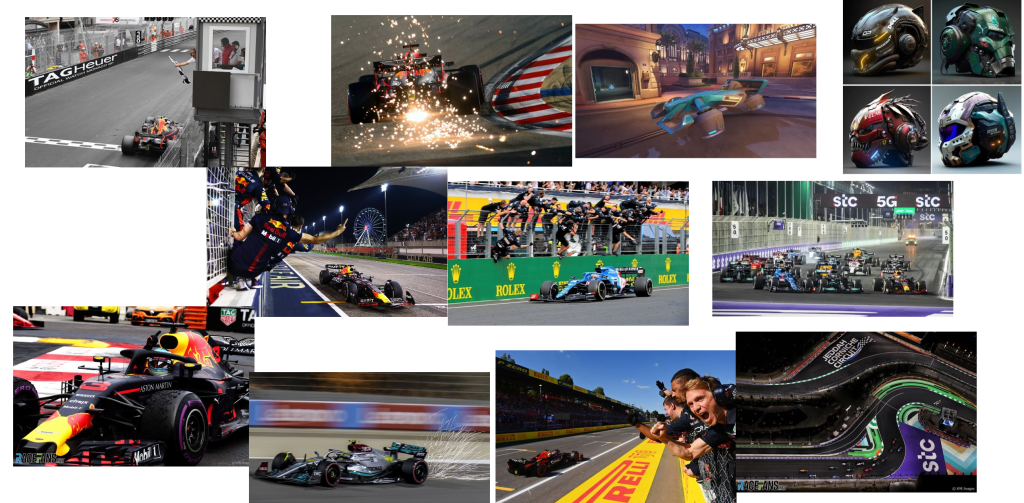
Many designers and developers will often come up with other designs and/or ideas that were not produced to completion. An idea that I had generated fit into the Science Fiction theme with a celebration sub-theme. The asset would have been a futuristic Formula 1 race car with a driver reaching his arm above the halo in celebration of a race victory. It would have been rather complicated to produce but with the correct knowledge of Maya and my knowledge of the sport, I feel I would have produced a high quality asset.
Reasoning
The biggest reason why this asset is not the one I produced is because of when I came up with the concept. Midway through the production of my chosen asset, the potion bottle, I suddenly thought that it would be an interesting asset to make as it would mostly be guesswork with the design and I had a very large interest in the sport already.
The asset would be very complicated to make for many reasons. The initial design of the car would be my first issue. Seeing Formula 1 cars currently, they are outfitted with 4 significant parts; the chassis, the rear wing, the front wing and the halo. While technical regulations for the 2026 season have already been made public, all that is known is the specifications for the new engines. It is unclear how these cars will evolve in the future which made me extremely interested in producing this idea. This would make my designing difficult as I would need to conceptualize a more advanced vehicle.
The second difficulty would be making the car. Obvious things that would be there are the 4 tires and the 4 parts mentioned earlier. However, adapting these parts to fit the theme will prove challenging as I would have to balance the two extremes of technological advancement and physics. The design of an F1 racer is very intricate with each part of the car perfectly made to produce the fastest lap times possible. Changing something like the tires would be a hard time as they could just be a different design of the tires currently used or I could switch them to something like hover engines so that the car is floating. Doing this however would have to be justified as there are many rules in the sport which are constantly being adapted to keep the teams close together in terms of pace.
An alternate difficulty to the car during the design and development stages would be the driver, how they sit in the cockpit and how they are celebrating. Realistically, I would want the driver to be raising their arm in celebration (like the image in the bottom left of the mood board above). However that would be difficult to make with no experience in modelling a character. The cockpit would be an issue as the drivers are very deep into the car in order to be safe when driving or crashing. With the added difficulty of the car’s design, I started to realize just how difficult this would be to make with my experience of Maya.

Alternate Idea 2
Another one of my ideas which was considered would be a futuristic umbrella in an empty town center sort of environment like that of times square during the pandemic. The asset and environment would fit into the science-fiction main theme with dystopia as the most likely sub-theme.